Digital Prints
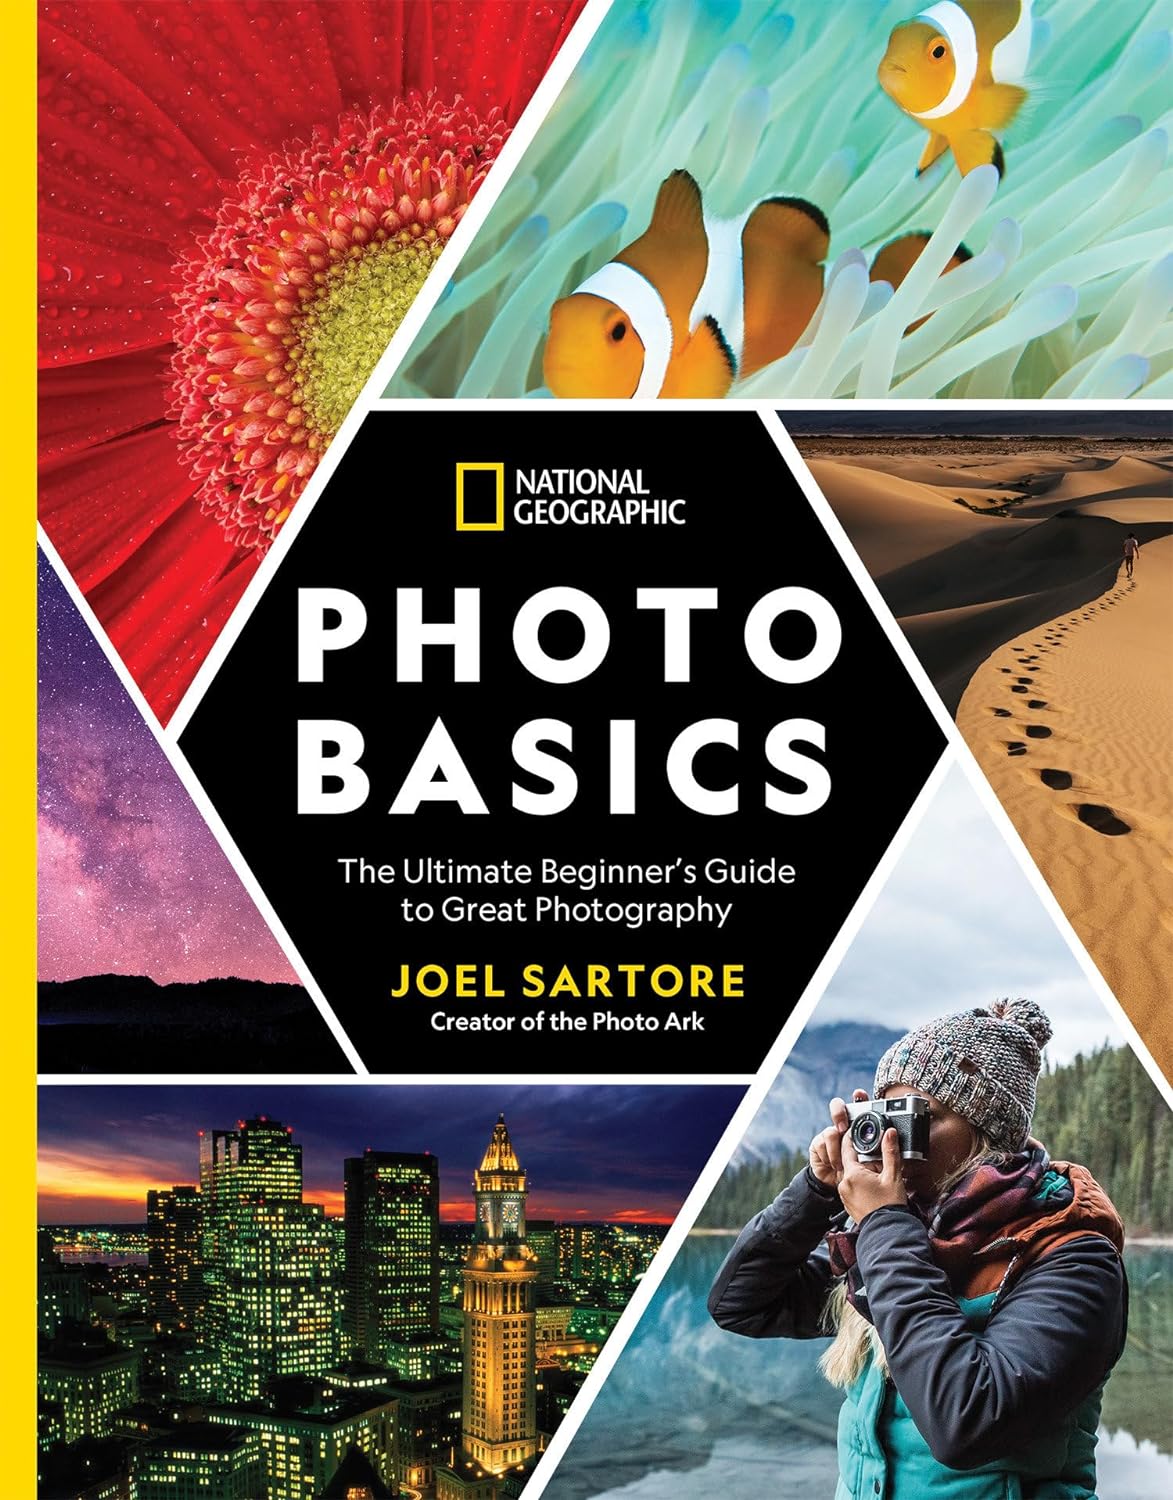
National Geographic Photo Basics: The Ultimate Beginner's Guide to Great Photography
National Geographic Photo Basics: The Ultimate Beginner's Guide to Great Photography
Couldn't load pickup availability
This entertaining book from beloved National Geographic photographer and Photo Ark founder Joel Sartore shows aspiring photographers how to take great pictures, from framing and F-stops to editing and archiving. Whether you're using your phone or a DSLR camera, you'll learn the fundamentals of photography--and how to put them to work every day.
In a series of short lessons, Sartore explains the basics, from choosing a camera and gear to understanding focus, exposure, composition, and lighting. Using examples from his own work, he applies the basic rules of photography to family, pet, travel, nature, and street photos, and how to get a great shot with the camera on your smartphone.
Throughout the book you'll find pro tips, quick assignments, and the behind-the-camera stories of great photographs; helpful notes clarify how to use every piece of advice with your smartphone camera.
Fun and informative, this practical book will be your gateway to taking great pictures.
Photo Basics

In National Geographic Photo Basics, you’ll find knowledge, advice, and useful tips for beginning photographers. With National Geographic photographer Joel Sartore as your guide, you’ll learn the fundamentals of great photography and how to put them to work in your own photos.
This entertaining book from beloved National Geographic photographer and Photo Ark founder Joel Sartore shows aspiring photographers how to take great pictures, from framing and F-stops to editing and archiving. Whether you're using your phone or a DSLR camera, you'll learn the fundamentals of photography--and how to put them to work every day. In a series of short lessons, Sartore explains the basics, from choosing a camera and gear to understanding focus, exposure, composition, and lighting.
What you need to get started

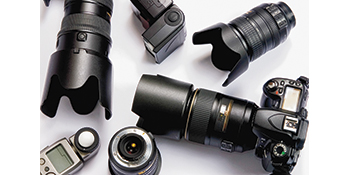
For most people, everything you need to make great photographs can fit into a backpack. You’ll always want to have the following: a camera you’re familiar with, a lens or two, extra memory cards, batteries or a battery charger, and a lens cloth—but a clean T-shirt will do in a pinch! Depending on your goals for the shoot and your camera, you may also want an external flash. In all of this, it’s important for you to invest in the equipment that’s right for you. Consider your goals, the amount of time you have to devote to photography, and what your budget will allow. Ultimately, you’ve got to put together a kit that will go with your style—of work, of shooting, of storytelling. If you can tell the story with less, don’t drag around extra gear just because a book tells you you should. As in life, you’ll be most successful in photography if you’re true to yourself.
Types of Cameras
Types of Cameras
Types of Cameras
Types of Cameras
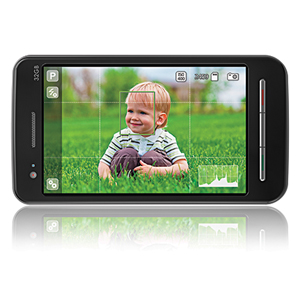


Most smartphones have high-quality cameras built right in. These cameras are getting more advanced with every new model of phone, with better image quality and more photographer control. If it’s always in your pocket, you won’t miss a shot as long as your battery is charged.
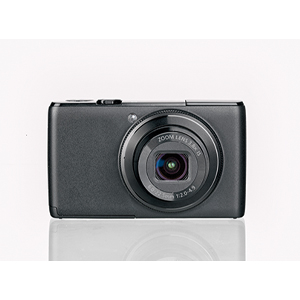
These small and lightweight cameras are usually about the size of a deck of cards. The lens and flash are built in, leaving you with fewer customization options. But they tend to have larger sensors and more storage capacity than phone cameras, making them a great option if you don’t want to carry anything big or heavy.
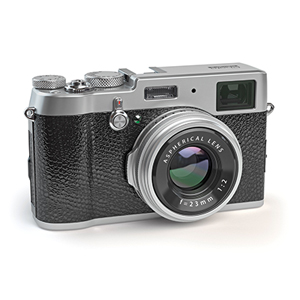
A mirrorless camera is a digital camera without an internal mirror system. Many of these models have interchangeable lenses, but with a lighter and thinner camera body. Instead of the optical viewfinder, you’ll have an electronic viewfinder to preview your image, where the camera projects what it sees onto an LCD screen on the back of the camera body. With fantastic image quality and nearly silent shooting, mirrorless cameras are on the rise with professional photographers, but at a higher price point, they remain a little beyond what most hobbyists will want to spend.
A digital single-lens reflex camera, or DSLR, allows you total control over settings and lenses. You can often buy a starter kit that includes a camera body and a zoom lens that will work in a variety of situations, and gradually add more lenses to your kit over time. If you want to create fine-art photographs in your garden, or dramatic long-lens shots of grizzly bears in golden light, you’re going to want the options and flexibility a DSLR provides.
Smartphone Cameras
Point-and-Shoot Cameras
Mirrorless Cameras
DSLR Cameras

Smartphone Cameras

Point-and-Shoot Cameras

Mirrorless Cameras

DSLR Cameras
Lighting Tools




Most compact and DSLR cameras come with a built-in flash unit. These are small and relatively low-powered. In our opinion, this little flash will only cause you trouble, adding dreaded red-eye to your photographs, and making them look more like snapshots. We say, leave it off.
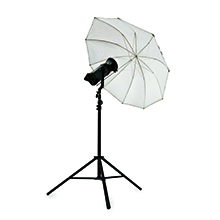
By bouncing the flash into an umbrella, you enlarge the size of your light source and produce much softer light on your subjects. This is ideal for portraits. You can get a similar effect by bouncing your flash off a reflector, white poster board, or even a white wall or ceiling. You can also use a translucent umbrella and have the light pass through it (rather than bounce off it). Both bouncing and diffusing work to soften the light in slightly different ways.
A reflector is an object used to reflect light onto a subject. Although you can buy a tool for this purpose, you can also use what’s available to you, like a wall or even a T-shirt. Keep in mind that the color of the object will impact the reflected light. White reflectors bounce neutral light, while silver yields a cool tone and gold gives a warm tone.
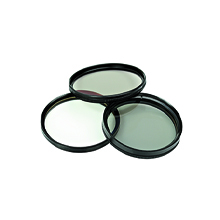
In general, it’s good practice to have a filter on your lens to protect it from dust and scratches. Filters can also impact the image. A polarizing filter will darken skies and reduce glare off of reflective surfaces like water. Filters may also impact your exposure, so choose wisely.These days, most filter effects can be applied relatively easily in your digital darkroom after the fact, so don’t sweat it if a filter isn’t in your budget. More on postproduction of your photos later.
